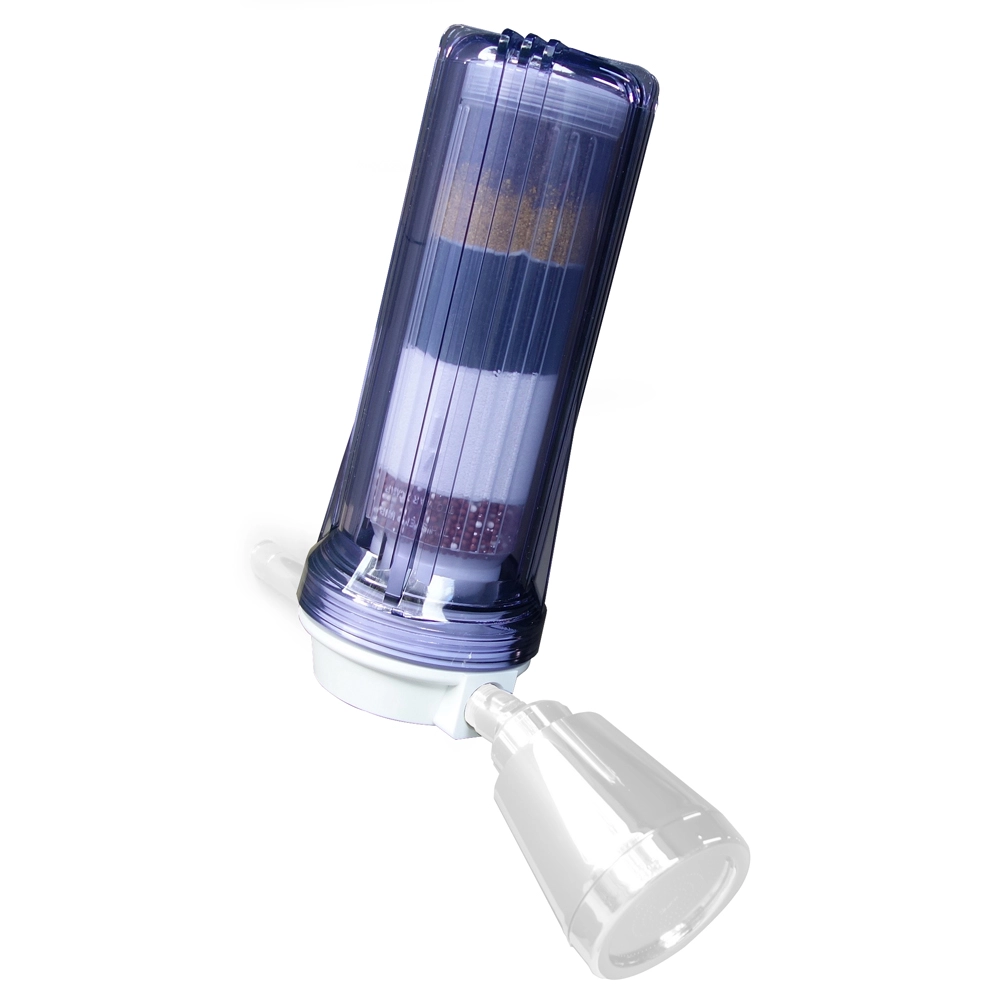



The Pono Revival Shower Filter is formulated to effectively treat:
- ✔️ Chlorine
- ✔️ Chloramine
- ✔️ Fluoride
- ✔️ 300+ Other contaminants
- ✔️ Heavy metals such as lead, mercury, nickel, chromium, and other dissolved metals
- ✔️ Controls scale, bacteria, and algae
QUICK INSTALLATION VIDEO
Crafted and produced in California, USA, the versatile Pono Revival Shower Filter is meticulously engineered to deliver unparalleled reduction, if not complete elimination, of chlorine, chloramine, fluoride, as well as heavy metals like lead, mercury, nickel, and chromium. Additionally, the water filter effectively targets over 300 other dissolved contaminants while also managing scale buildup, bacteria, and algae.
PONO REVIVAL SHOWER FILTER STAGES
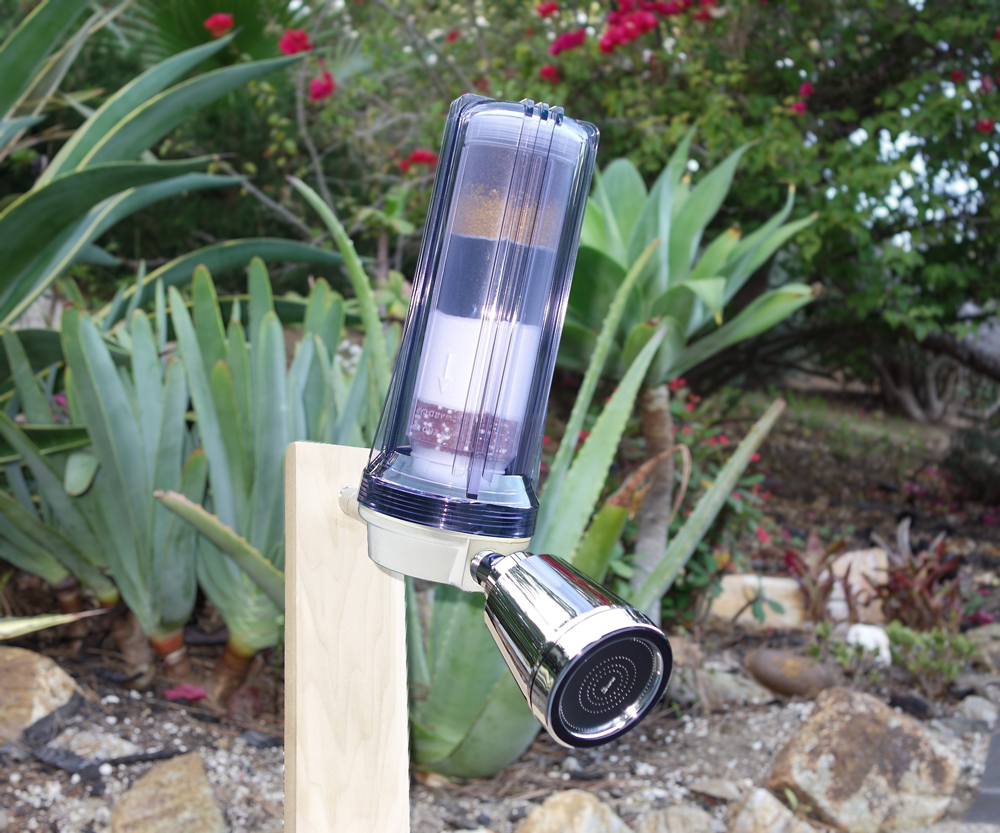
- Copper/Zinc Redox/KDF – Incorporating copper/zinc redox and Kinetic Degradation Fluxion (KDF) technology, this component effectively eliminates chlorine, heavy metals, bacteria, and molds from the water.
- Steam Pressured Activated Carbon – Utilizing mixed steam pressured activated carbon, this part of the filter efficiently removes chlorine/chloramine, pesticides, herbicides, and over 300 known organic impurities.
- Nano Alumina – The inclusion of nano alumina significantly reduces, if not entirely removes, fluoride from the water.
- Negative Ions & Tourmaline – Far-infrared negative ions and tourmaline balls, acting as “mineral stones” or “bioactive stones,” collaborate to soften the water’s hardness. Moreover, the negative ions bind with harmful positive ions before the water comes into contact with your skin, imparting a rejuvenating and relaxing sensation akin to being near the ocean or a waterfall. This process promotes reduced stress levels, heightened energy, improved sleep, and various other health benefits.
EASY STEP-BY-STEP INSTALLATION PROCESS
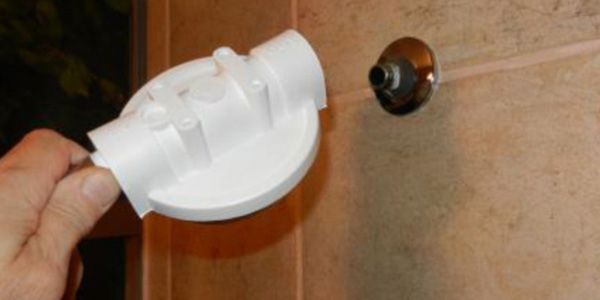
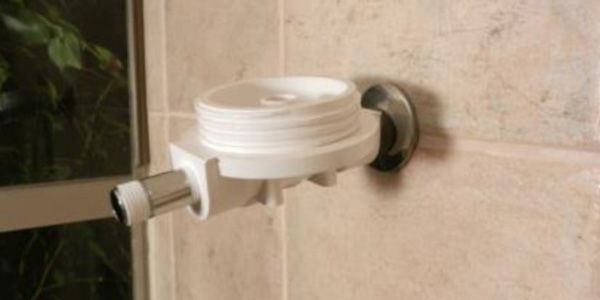
STEP 1. Begin by detaching your current showerhead from the shower pipe. This should unscrew easily, although it may require some additional effort if it’s been in place for a long time. An adjustable wrench can be useful for loosening the showerhead from the shower arm pipe.
STEP 2. Take the provided Teflon tape and wrap it securely around the exposed pipe. This ensures a tight seal between the new shower filter and the pipe, preventing any water leakage.
STEP 3. Open the box containing your new shower filter and remove it. Then, unscrew the white cap from the clear housing of the filter.
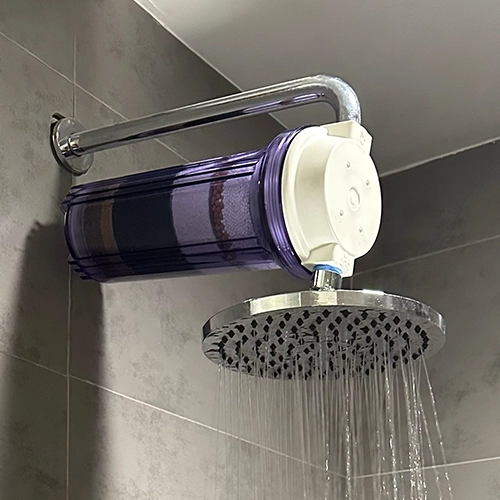
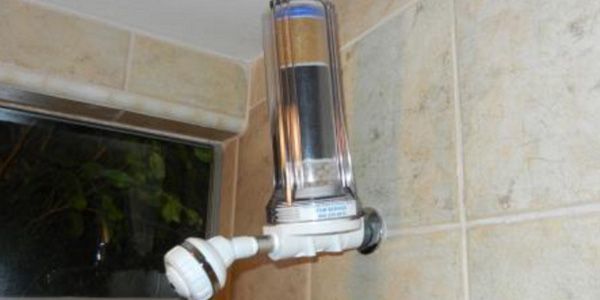
STEP 4. Attach the white filter cup of the new filter to the shower pipe by screwing it firmly into place. Ensure it is tightened securely and positioned upright as illustrated in the accompanying picture.
STEP 5. With the shower filter cartridge and clear housing in hand, align the threads carefully with the shower arm. Twist them in a clockwise direction until they are hand tight. It’s crucial to pay close attention to thread alignment during this process to avoid any damage to the unit from cross-threading. Ensure that the inside cartridge is oriented with the KDF media (gold powder media) positioned upright.
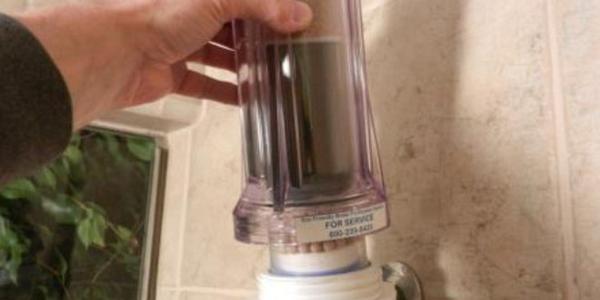
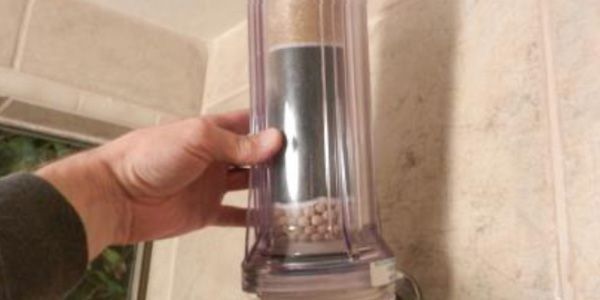
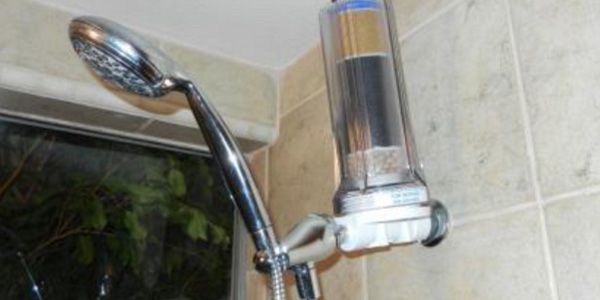
STEP 6. Next, reattach your existing or new showerhead to the output side of the shower filter. For handheld shower fixtures, it’s advisable to install the bracket or diverter assembly directly onto the front of the shower filter. Using a clockwise twisting motion, hand tighten the showerhead to the shower filter until it is securely attached.
Note: Before attaching the showerhead, carefully inspect the condition and placement of the gasket provided with your shower head. A worn or torn gasket may result in leaking and diminished water pressure and performance. Therefore, ensure the gasket is properly positioned to maintain a watertight seal and optimal functionality.
PRESSURIZE YOUR NEW SHOWER FILTER
Once the installation is complete, turn on the water and allow it to run for 1-2 minutes to fully pressurize the inside cartridge and filter housing. During this time, check for any leaks at the shower arm, cartridge attachment point, and shower head attachment point. If any leaks are detected, turn off the water and tighten the problem areas accordingly. Hand tools may be utilized only at the connection point of the showerhead. It is recommended not to exceed an additional 1/2 turn with any hand tool.
Congratulations! Your new shower filter is now ready for immediate use and enjoyment.
WHAT CUSTOMERS SAY ABOUT US